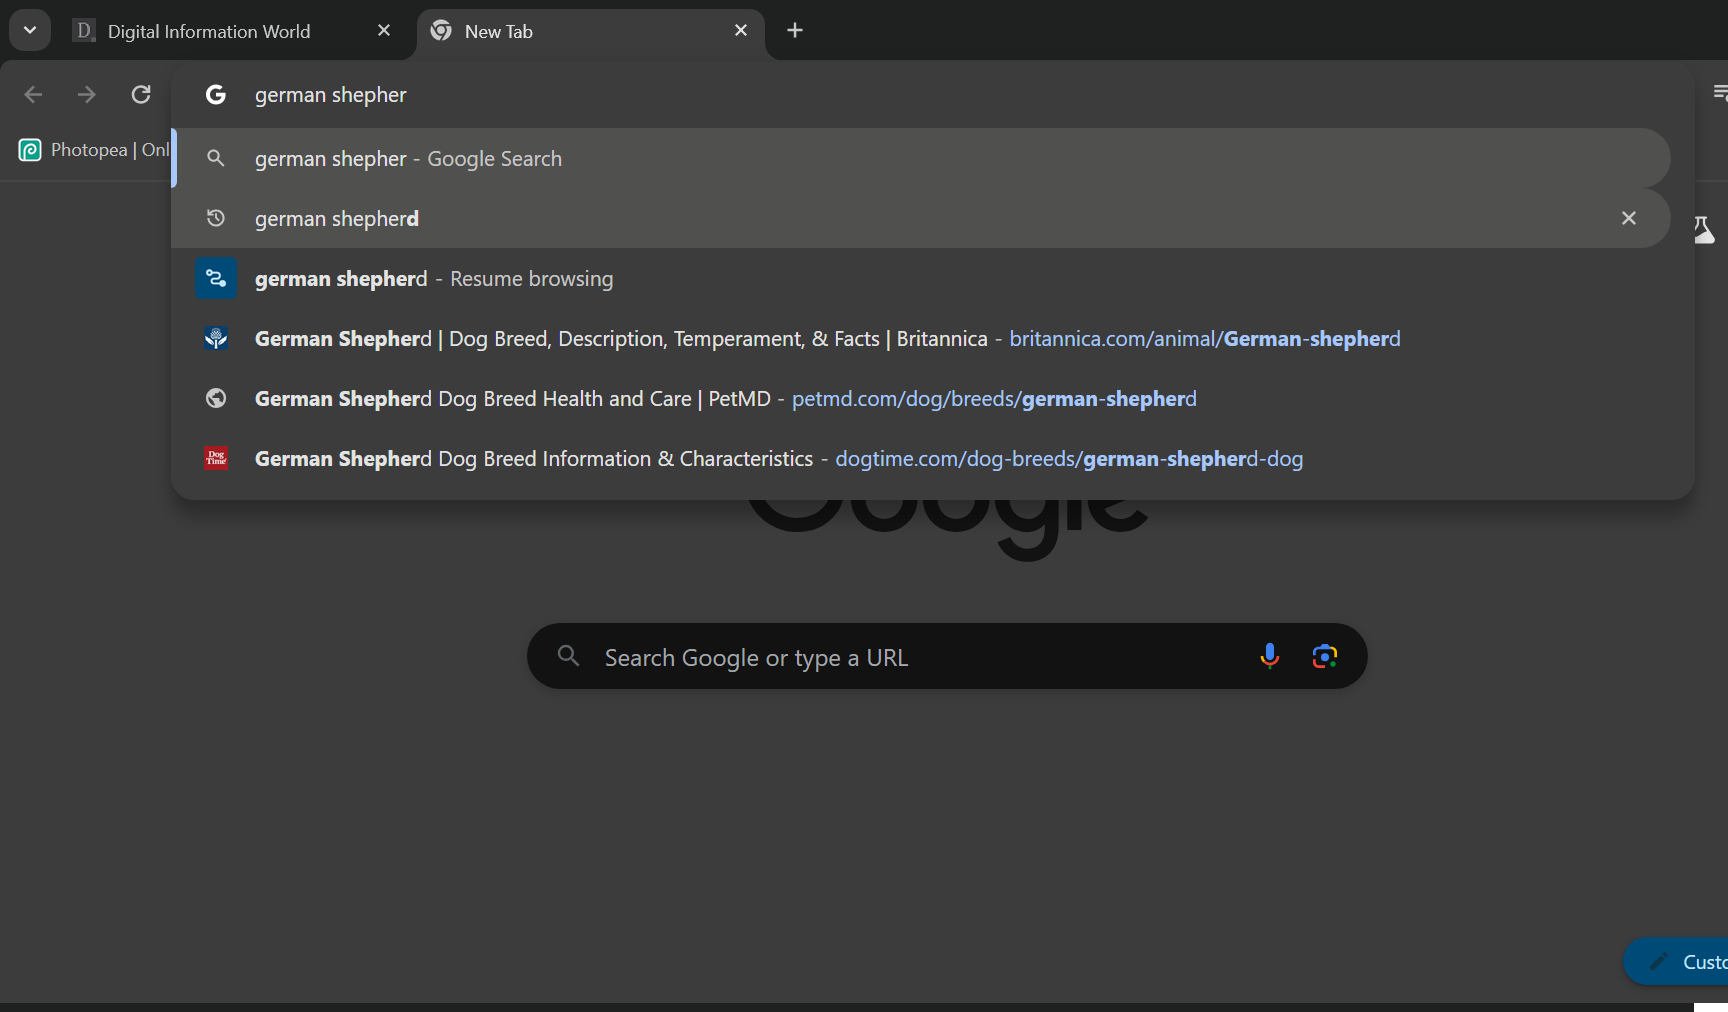
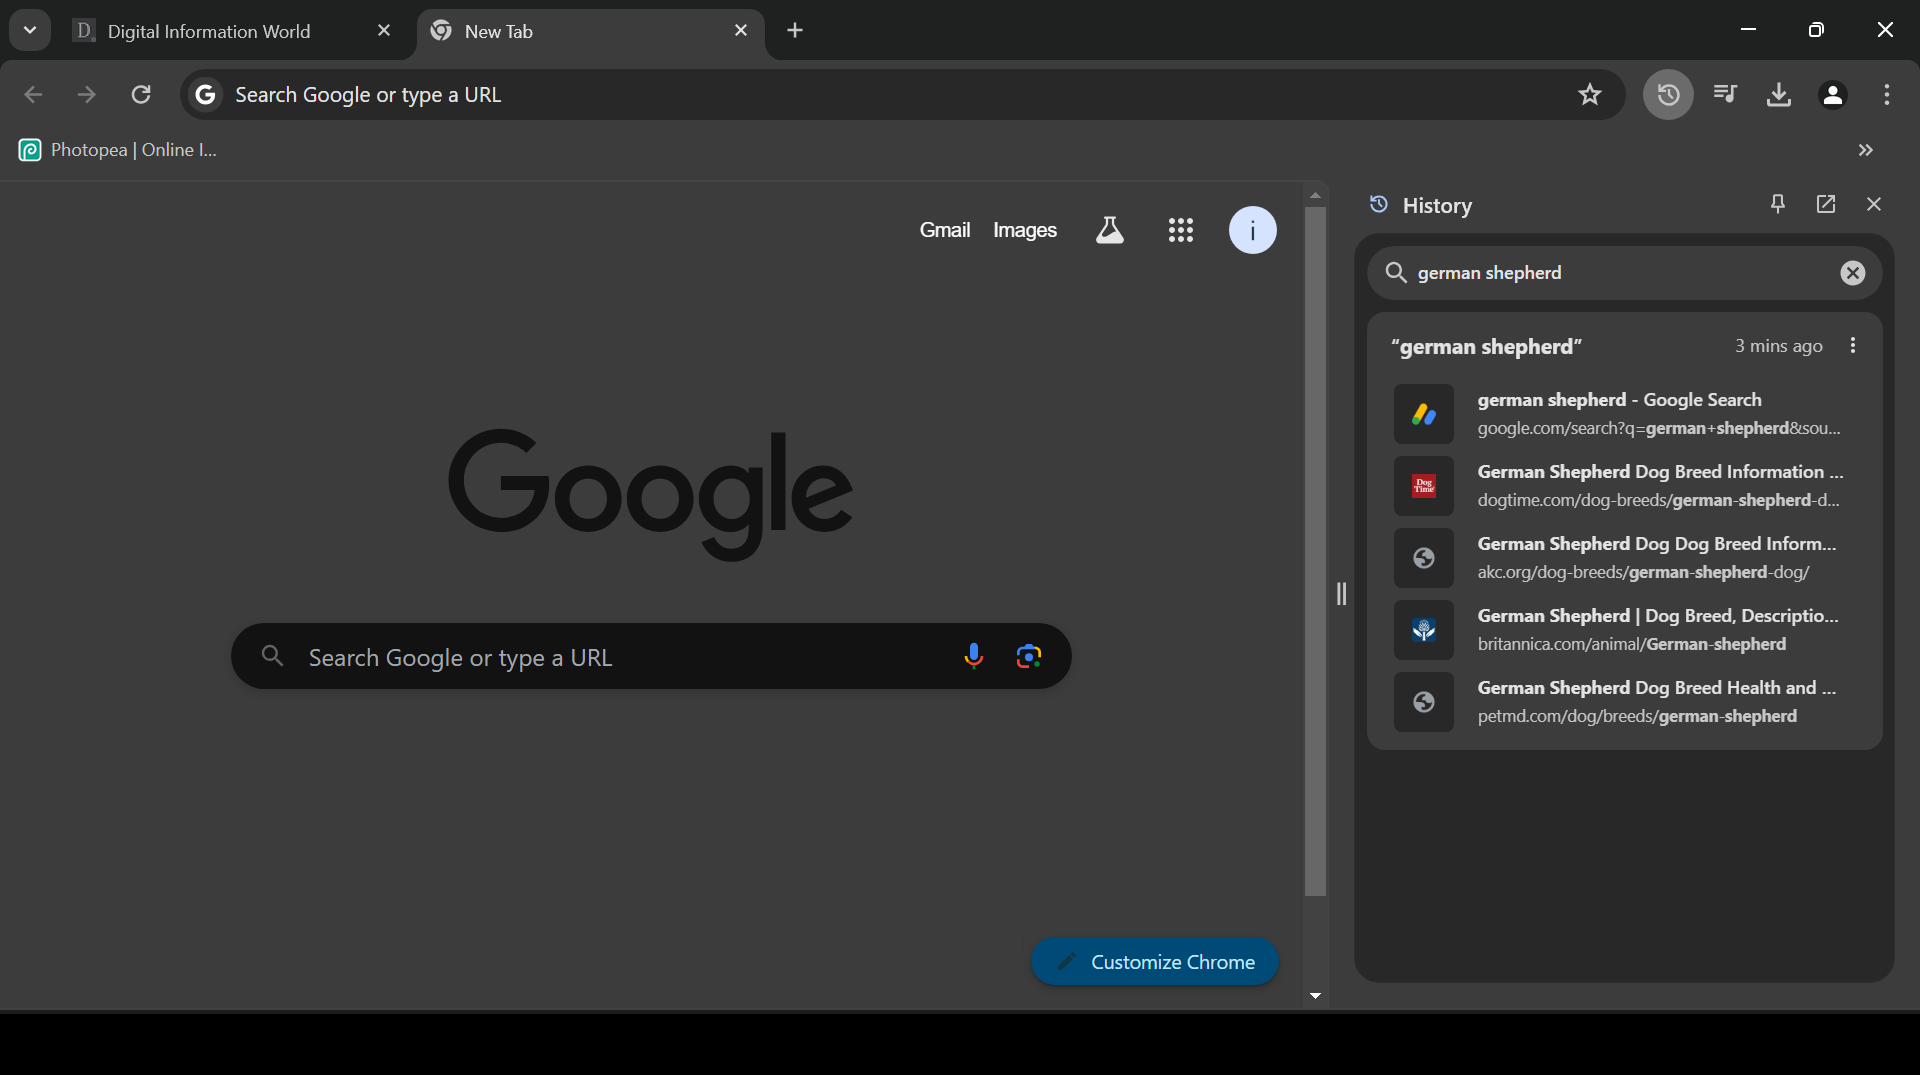
Have you noticed that irritating feature on Google Chrome called "Resume browsing" also known as "Journeys"? It basically allows you to resume your journey, if you’re entering in a search query that you previously made. In spite of the fact that this is the case, some users don’t really like this feature, since it opens up the results in a sticky side bar instead of in the main tab. Hence, it might be useful to know how you can go about disabling this feature.
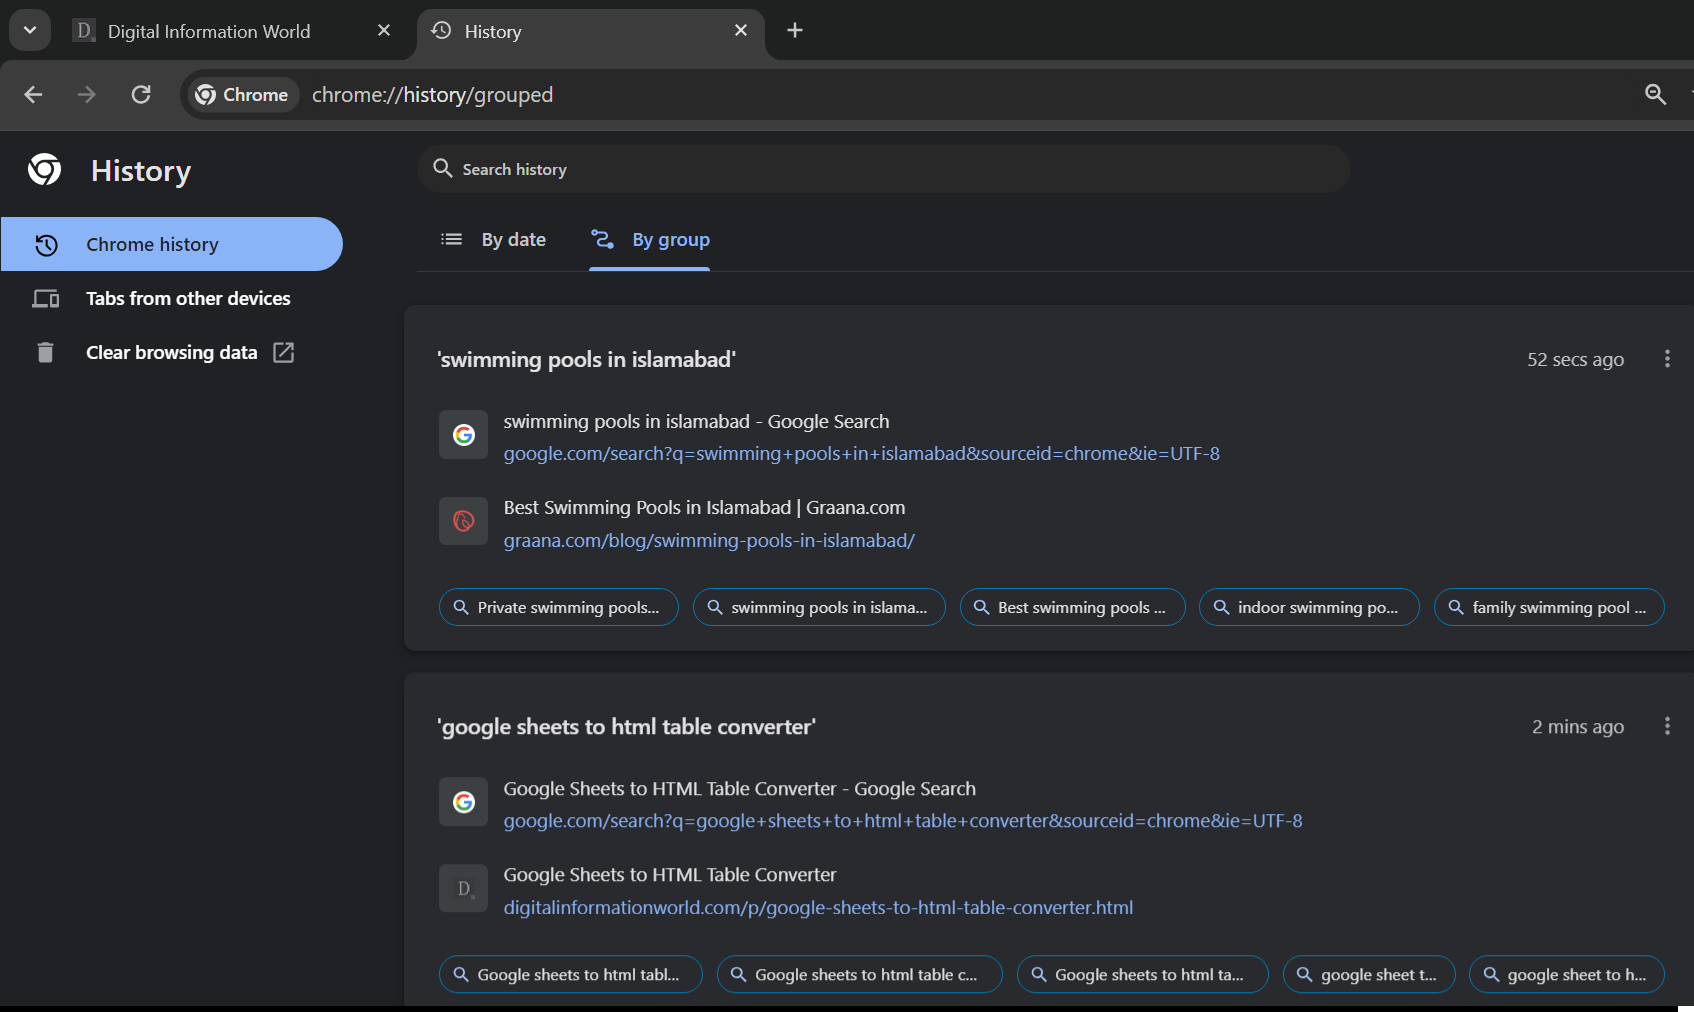
But first, what exactly are Journeys or "Resume browsing"? In a nutshell it’s a way to organize and arrange your browsing history. Essentially, all of the websites that you visited in a session can get grouped together, such as websites for a dog breed that you researched for. This is somewhat different from the traditional method for displaying history, which arranges it chronologically with the most recently visited websites on top.
Now, without further ado, let’s see how you can deactivate Journeys. The process is actually quite simple, so stay tuned while we tell you all you need to know!
Previously, Google Chrome allowed users to “Turn Off Journeys” with a dedicated option right from History setting page (here chrome://history/grouped). But Chrome has changed things up a bit. Now users have a "Clear browsing data" option (which leads to chrome://settings/clearBrowserData) instead of "Turn Off Journeys" button.
Now users must clear their all browsing history to get rid of unwanted Journey labels. It is important to note that, they also need to be careful when selecting which option to choose and which one to avoid during the removal of browsing data. As Chrome 'by default' offers to delete "Cookies and other site data" as well, which is not needed during the "Journey labels" removal process. So users are advised to select and remove only "Browsing history" option during the "Clear browser data" process. See the below screenshot for a good example which will help you in removing the unwanted Journey labels while preserving the important login data.
Now, what about the “Resume your journey” feature? That’s something that can disrupt your Googling experience, and it turns out that you can turn that off as well if you so choose! here’s how that process works:
Step 1 - Open a New Tab
Step 2 - In the search bar type/paste “chrome://flags” and hit Enter
Updated: Read "Step 2 (A)" first if you cannot find the History Journeys flag.
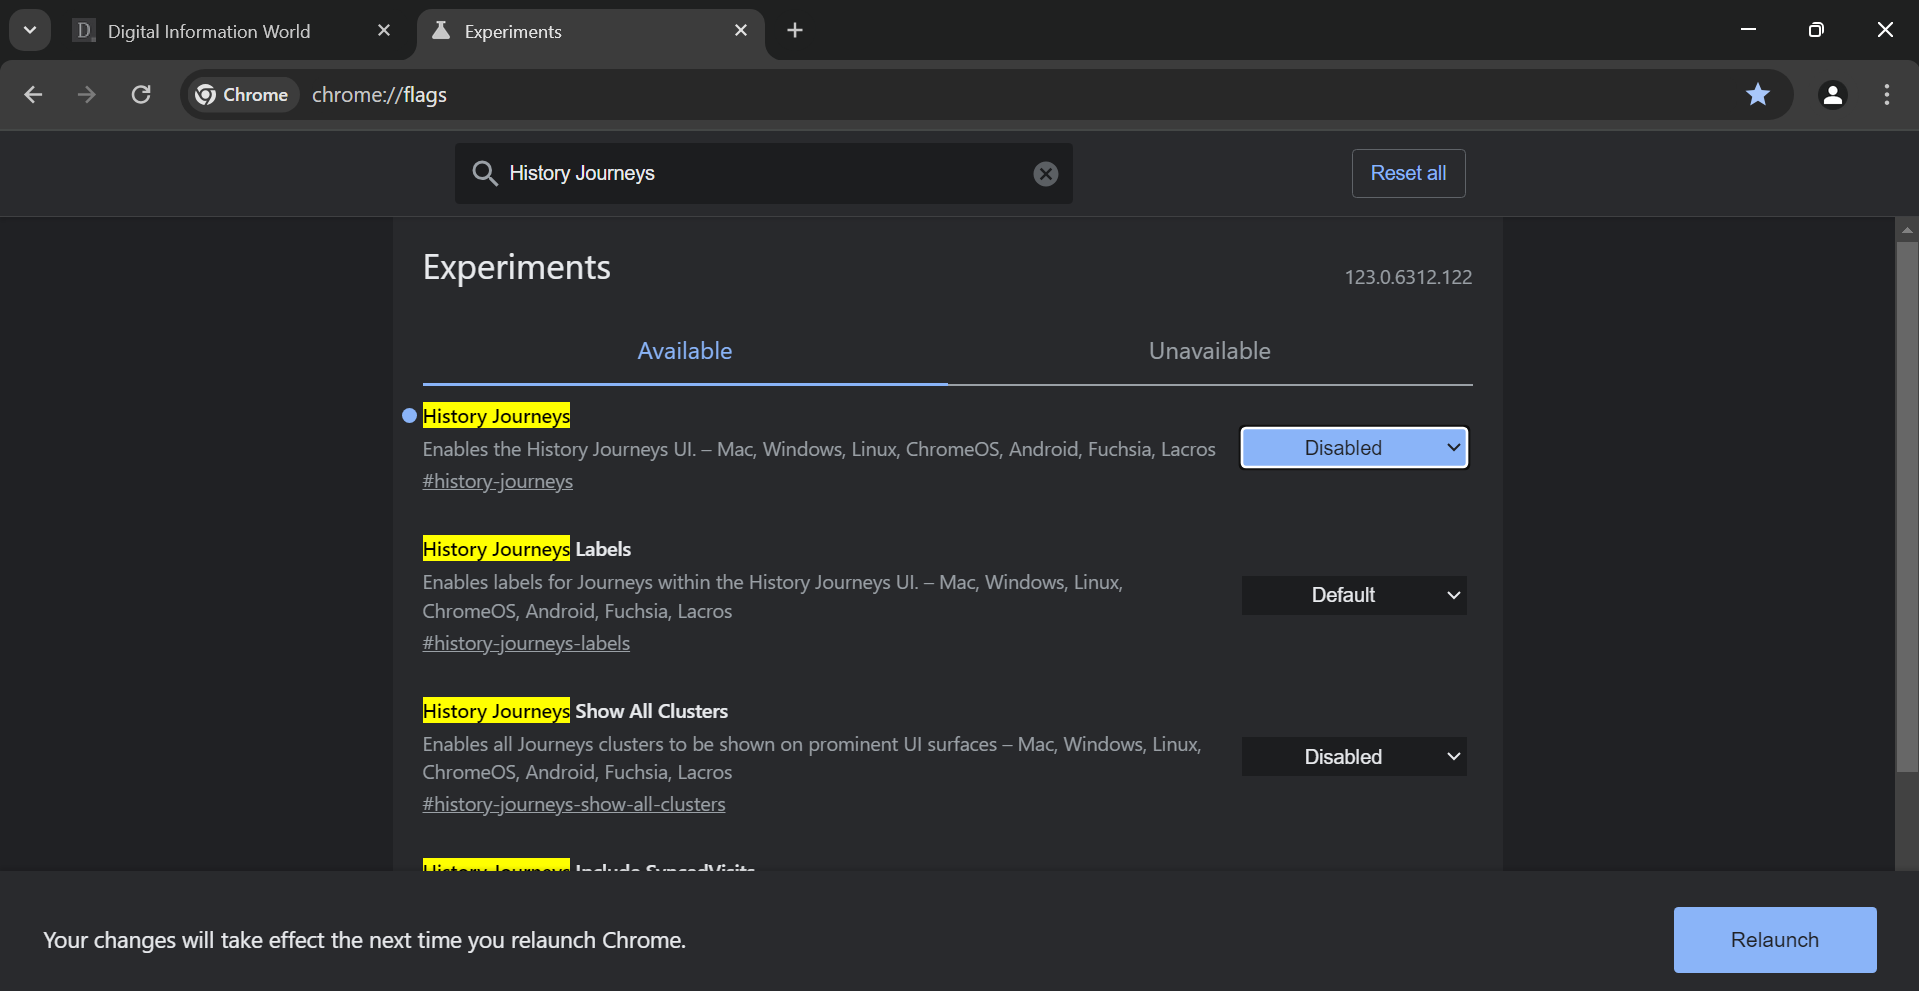
Step 3 - Now in the 'Search flags' search bar enter "History Journeys" or "Enables the History Journeys UI".
Step 4 - Select “Disabled” from the drop down menu. As shown in the screenshot
Step 5 - Relaunch your Chrome app
That’s all there is to it. It bears mentioning that Flags where all of the experimental features can be found, and if Google decides to give this feature a wider rollout, you’ll be able to access it in Settings.
To wrap up, managing Google Chrome's "Resume browsing" or "Journeys" feature can enhance your browsing experience. Whether you prefer a clean browsing history or dislike the sidebar display, knowing how to disable this feature is essential. By following the steps outlined above, you can regain control over your browsing sessions and customize Chrome to better suit your preferences. Stay tuned for more tips and tricks to optimize your online journey!
This blog post was updated on July 11, 2024, to include a workaround for making the Journeys feature visible, which is hidden behind the "Temporarily unexpire M125 flags".
Read next: How to Keep Your Digital Footprint Secure After Your Death?
But first, what exactly are Journeys or "Resume browsing"? In a nutshell it’s a way to organize and arrange your browsing history. Essentially, all of the websites that you visited in a session can get grouped together, such as websites for a dog breed that you researched for. This is somewhat different from the traditional method for displaying history, which arranges it chronologically with the most recently visited websites on top.
Now, without further ado, let’s see how you can deactivate Journeys. The process is actually quite simple, so stay tuned while we tell you all you need to know!
Previously, Google Chrome allowed users to “Turn Off Journeys” with a dedicated option right from History setting page (here chrome://history/grouped). But Chrome has changed things up a bit. Now users have a "Clear browsing data" option (which leads to chrome://settings/clearBrowserData) instead of "Turn Off Journeys" button.
Now users must clear their all browsing history to get rid of unwanted Journey labels. It is important to note that, they also need to be careful when selecting which option to choose and which one to avoid during the removal of browsing data. As Chrome 'by default' offers to delete "Cookies and other site data" as well, which is not needed during the "Journey labels" removal process. So users are advised to select and remove only "Browsing history" option during the "Clear browser data" process. See the below screenshot for a good example which will help you in removing the unwanted Journey labels while preserving the important login data.
Now, what about the “Resume your journey” feature? That’s something that can disrupt your Googling experience, and it turns out that you can turn that off as well if you so choose! here’s how that process works:
Step 1 - Open a New Tab
Step 2 - In the search bar type/paste “chrome://flags” and hit Enter
Updated: Read "Step 2 (A)" first if you cannot find the History Journeys flag.
Step 2 (A) - The latest Chrome update has sunset the "History Journeys" feature/flag. This means searching for "Journeys" in the Flags search page (chrome://flags) won't yield any results. To restore the flag, search for "Temporarily unexpire M125 flags" or "Temporarily unexpire flags," enable the first flag, and restart your browser.
Note: Google Chrome may remove this flag/feature at any time, so in the near future, enabling "Temporarily unexpire M125 flags" might not bring back the "History Journeys" feature. For now, enjoy this workaround. Proceed to the next step.
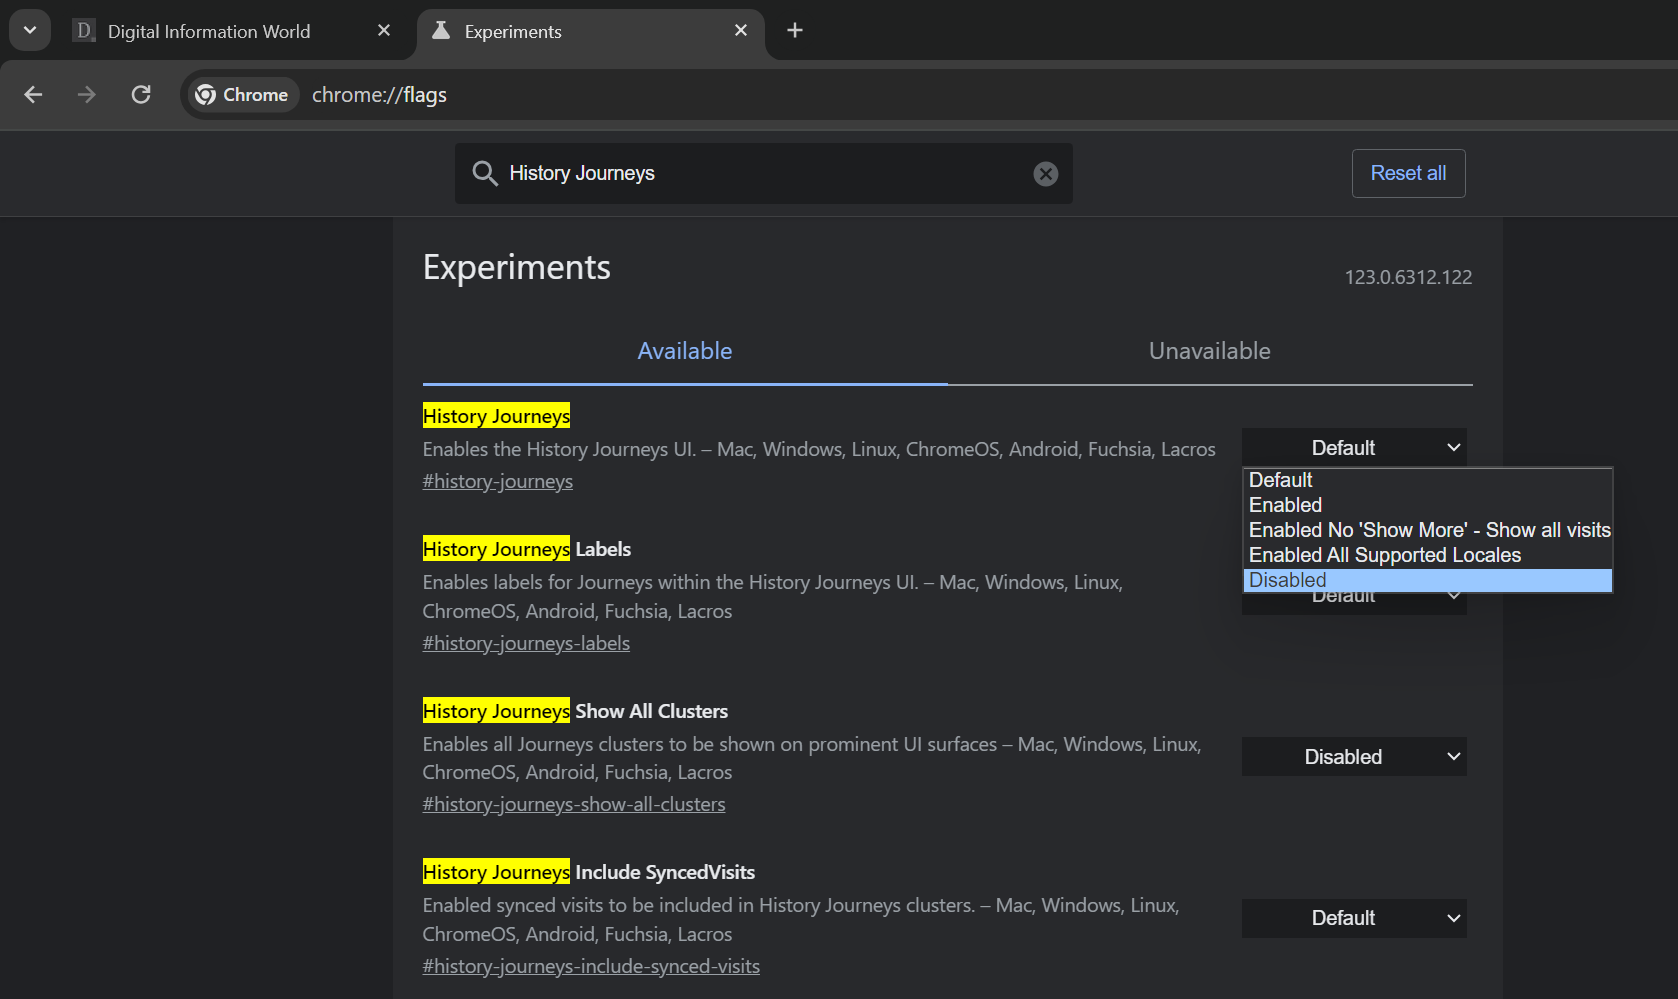
Step 3 - Now in the 'Search flags' search bar enter "History Journeys" or "Enables the History Journeys UI".
Step 4 - Select “Disabled” from the drop down menu. As shown in the screenshot
Step 5 - Relaunch your Chrome app
That’s all there is to it. It bears mentioning that Flags where all of the experimental features can be found, and if Google decides to give this feature a wider rollout, you’ll be able to access it in Settings.
To wrap up, managing Google Chrome's "Resume browsing" or "Journeys" feature can enhance your browsing experience. Whether you prefer a clean browsing history or dislike the sidebar display, knowing how to disable this feature is essential. By following the steps outlined above, you can regain control over your browsing sessions and customize Chrome to better suit your preferences. Stay tuned for more tips and tricks to optimize your online journey!
This blog post was updated on July 11, 2024, to include a workaround for making the Journeys feature visible, which is hidden behind the "Temporarily unexpire M125 flags".
Read next: How to Keep Your Digital Footprint Secure After Your Death?



Not helpful
ReplyDeleteMaybe you need to try again.
DeleteThis no longer works.
ReplyDeleteYou'll need to enable "Temporarily unexpire M125 flags" first... Check out the post again... it has been updated. The method is still working.
DeleteThank you!
ReplyDeleteThanks, it worked. This is one of the most annoying "features" introduced.
ReplyDeleteNo it's not working even with this "Temporarily unexpire M125 flags"
ReplyDeleteCan't find M125 flags. M127 flags and M128 flags exist, but no M125. The steps outlined above do not result in any changes. Searching for history reveals no results.
ReplyDeleteyeah, same. must have been changed. found multiple posts with the same steps but all rely on m125 and journey flags
DeleteThis doesn't work and is not helpful.
ReplyDeleteAll of these has now been removed and non work.
ReplyDelete