

If you are new to photography, photo editing may seem challenging and daunting, to say the least. However, with many tools available for editing your photos, it can be very easy for you to retouch or enhance your photographs and completely transform the way they look. With constant advances in technology, it has become extremely easy to do so today – all you need is good equipment and some basic skills that you can learn and master before you even know it.
Good equipment means good photo editing software. There are many options for you to choose from, but the best and the most popular one remains to be Adobe Photoshop. When you first open your photo editing program (regardless of which one it is, since they all function in pretty much the same way), it may seem a bit confusing. However, once you start exploring it and you try applying all of the features, you will see that it is really a piece of cake.
To start enhancing and improving your photos, you need to learn some basic tricks, so take a look at what those are, before you go and become a master of photo editing.
1. Crop Your Photo
Even if your photo doesn’t need cropping, it may still benefit from even slightly removing the edges. With the use of the Crop tool, you can select and drag the box to adjust the crop and create new borders for your shot. You can even rotate the crop if you want to achieve a different effect by dragging the corners of the box.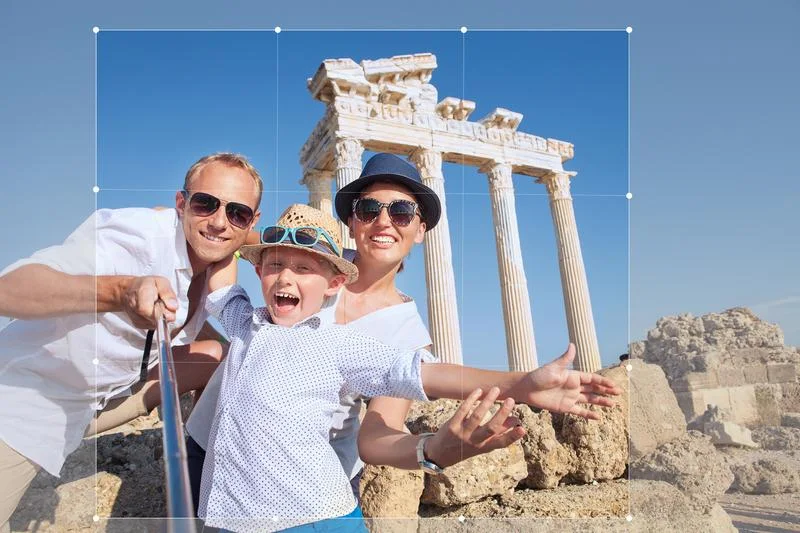
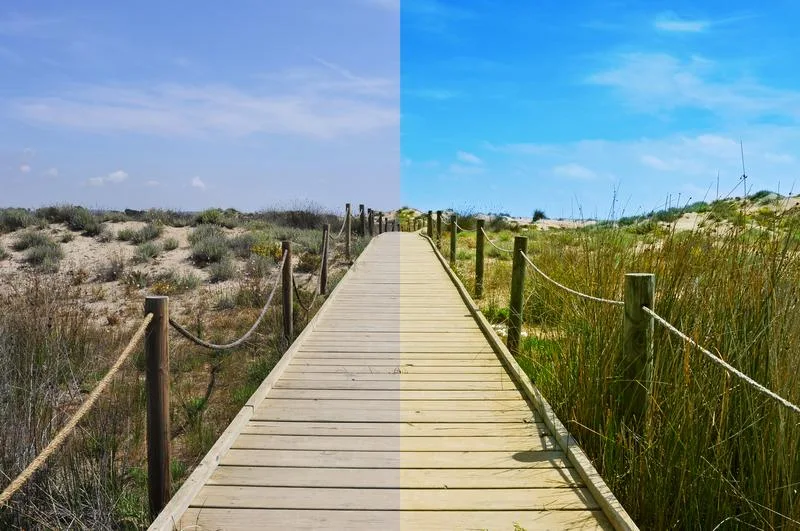
2. Set Levels for Better Exposure
If you want to adjust the exposure in your photo, you can do so by adjusting levels. For instance, if your photo is too dark, you can brighten it, and vice versa. All you need to do is click on Adjustments in your software’s panel and then click on Levels. You will be provided with a histogram, where you can move the three arrows on the line to achieve the desired level of exposure. While the left and right arrow will make your photo darker and lighter, respectively, the mid arrow will help you adjust the shadows so that those particular details can stand out more.3. Adjust Brightness and Contrast
Playing with the Brightness/Contrast tool can make a big difference in your photos, as you can brighten your dark images and enhance some details for a better effect. For instance, if you turn down the contrast, you will lighten the dark parts of your photo. On the other hand, if you increase the contrast, you will darken your photo so that it may lose some details. The key is to explore the settings and see what the best match for your photo is.
The Brightness/Contrast tool is great for black and white photos, as you can use it to make the white parts completely white and the black ones truly black. Adjust the contrast by moving the arrow on the line to the left and right to see what works best for your photo.
If you want to convert your photo to black and white, you can do so by using the Hue/Saturation tool (moving the Saturation arrow to the left will remove the color) or by clicking on Image and selecting Grayscale under Mode to convert to grayscale.
4. Adjust Hue and Saturation

5. Sharpen Your Photo

Sharpening is also something that you should keep to a minimum because applying it too much can make a lot of digital noise in your photo and make it look completely unnatural. Therefore, if you use it just right, you can make sure the focus of your photo truly stands out, as the light and dark pixels will amplify and create a crisper photo.
6. Remove Dust Spots
It is not unusual to have dust spots in your photos, simply because of the dust on your camera’s sensor. However, you can successfully remove them with the use of the Healing Brush tool. You can easily remove the spots by selecting the tool and then clicking on the spot in your photo that you want to remove. The key is not to use a brush that is too big.You can also explore the Healing tool and see what other options you have for correcting and removing dust spots. However, with the Healing tool, you will need to select an area that will be copied for it to be “placed” over the spot you want to heal. If you want to do something like that, you can also try the Clone tool.
Bonus infographic:
All the Tricks You Need to Know About Photo Editing

Source: Parrotprintcanvas.
These were the most important photo editing tricks that you need to know to start improving your photos and making them more enhanced and sophisticated. There are a lot more techniques that you can learn, but these will give you a great head start. However, remember that choosing the best equipment for photo editing is exactly what will help you transform your photographs and turn them into your own pieces of art, so make sure you explore all the options before choosing one for your needs