
General public can use reverse image search in their daily lives for websites selling specific products or the same products being sold by other companies online. On the other hand, reverse image search can also help news readers and researchers figure out if an image is real, fake or AI generated. With just one image, users are able to open a wide range of images leading to different sources. In this way, they have everything related to the image in one place. Users will not have to waste time by roaming the internet to find specific information regarding a product or an object.

In this article you'll learn how you can use reverse image search on different devices and can use it effectively:
On Android
-
Download Google Lens from the Play Store and open it.
-
Select an image from your gallery.
- The app will start searching for details related to the image and other similar images.

Another way to do reverse image search using Google Lens is by selecting a photo directly from your phone gallery.
-
Open your phone gallery and select an image.
-
After selecting the image, tap on Share and select Google Lens.

- The image will be opened in Google Lens with related photos and details given at the bottom.

iOS Users
iOS users have to download the Google Search app first (instead of Google Lens app like Android). In the Google Search app, they can select Google Lens option. And rest of the procedure is almost same, users can also choose the gallery option and select photos directly from their phones.
On Web (Mobile and Desktop)
There are many ways for users to do reverse image search using Google Lens on web through mobile or desktop. The first one is by using Google images om mobile:
- Search an image of your choice on Google and then click on images.
- Select an image of which you want the related images and details.
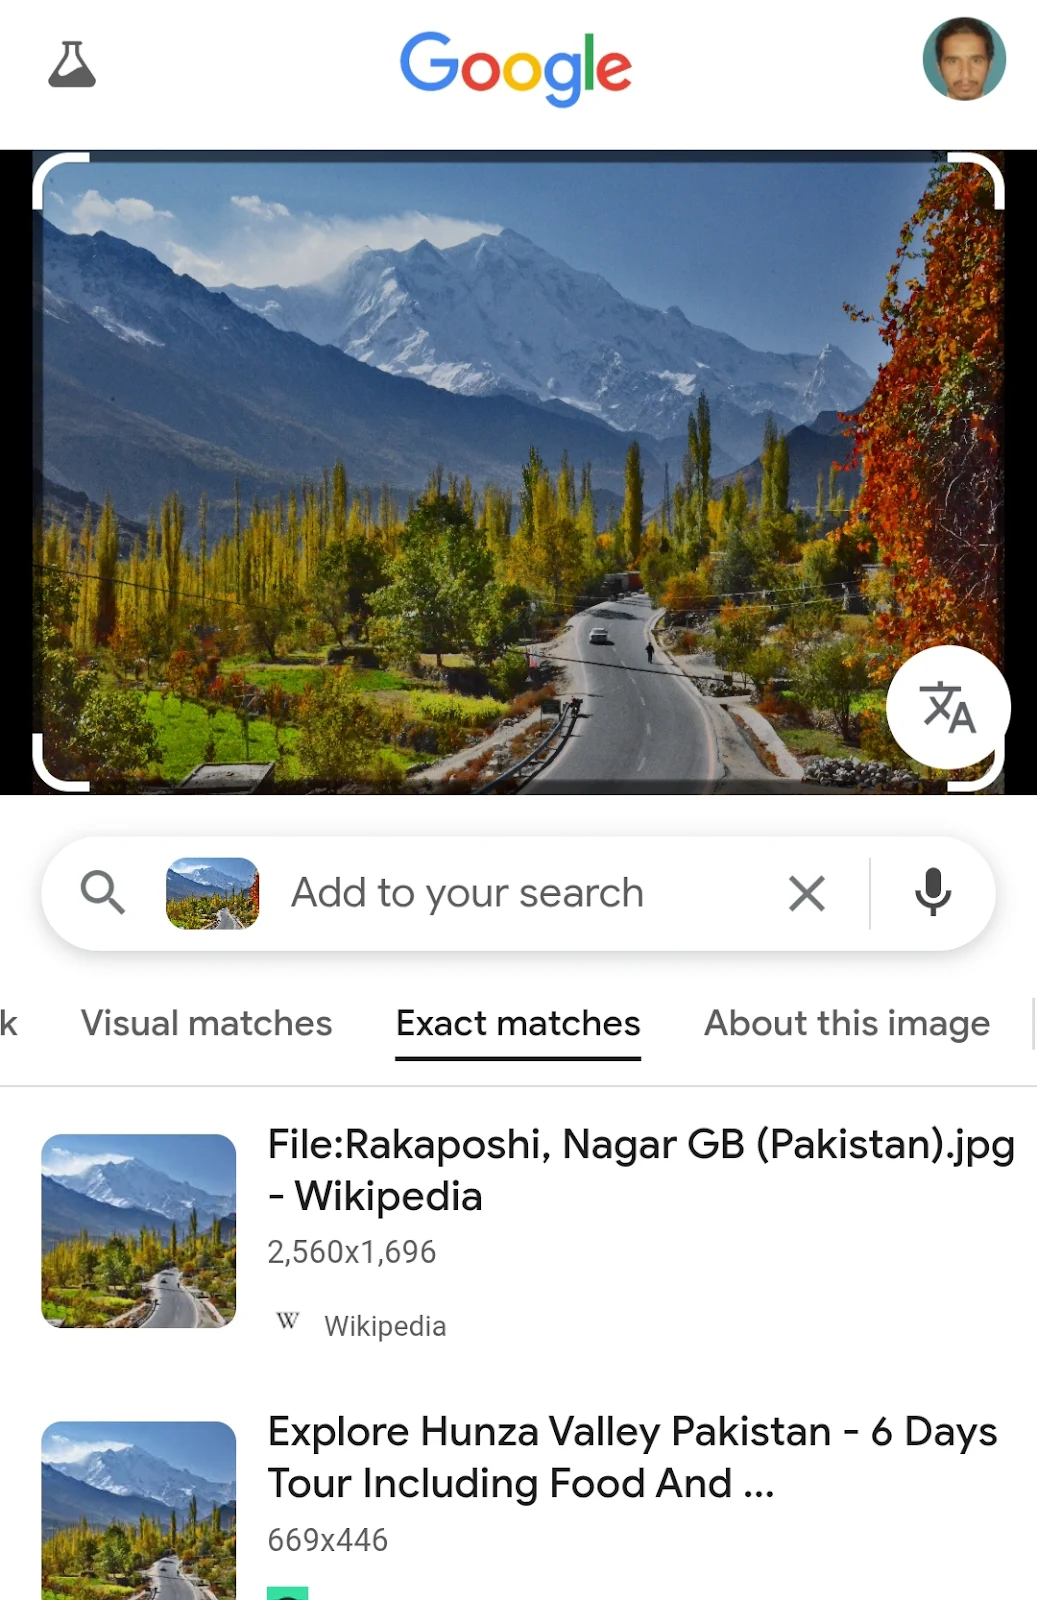
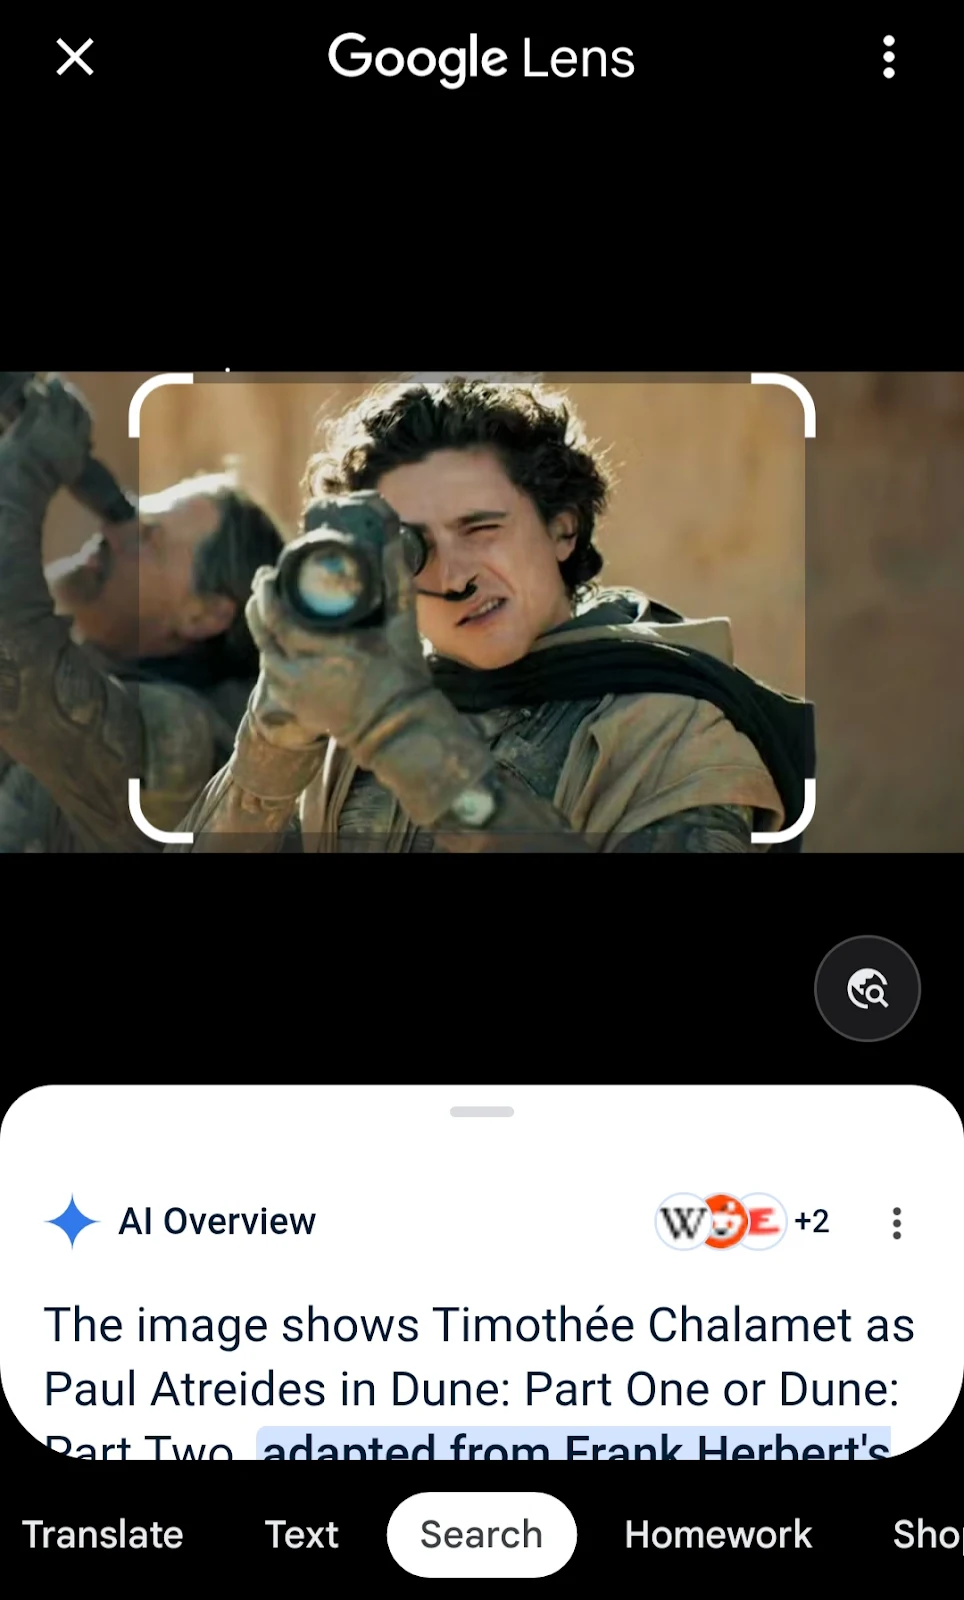
- Click on Google Lens option given on the left corner of the image. Google Lens will scan the image and display the results.
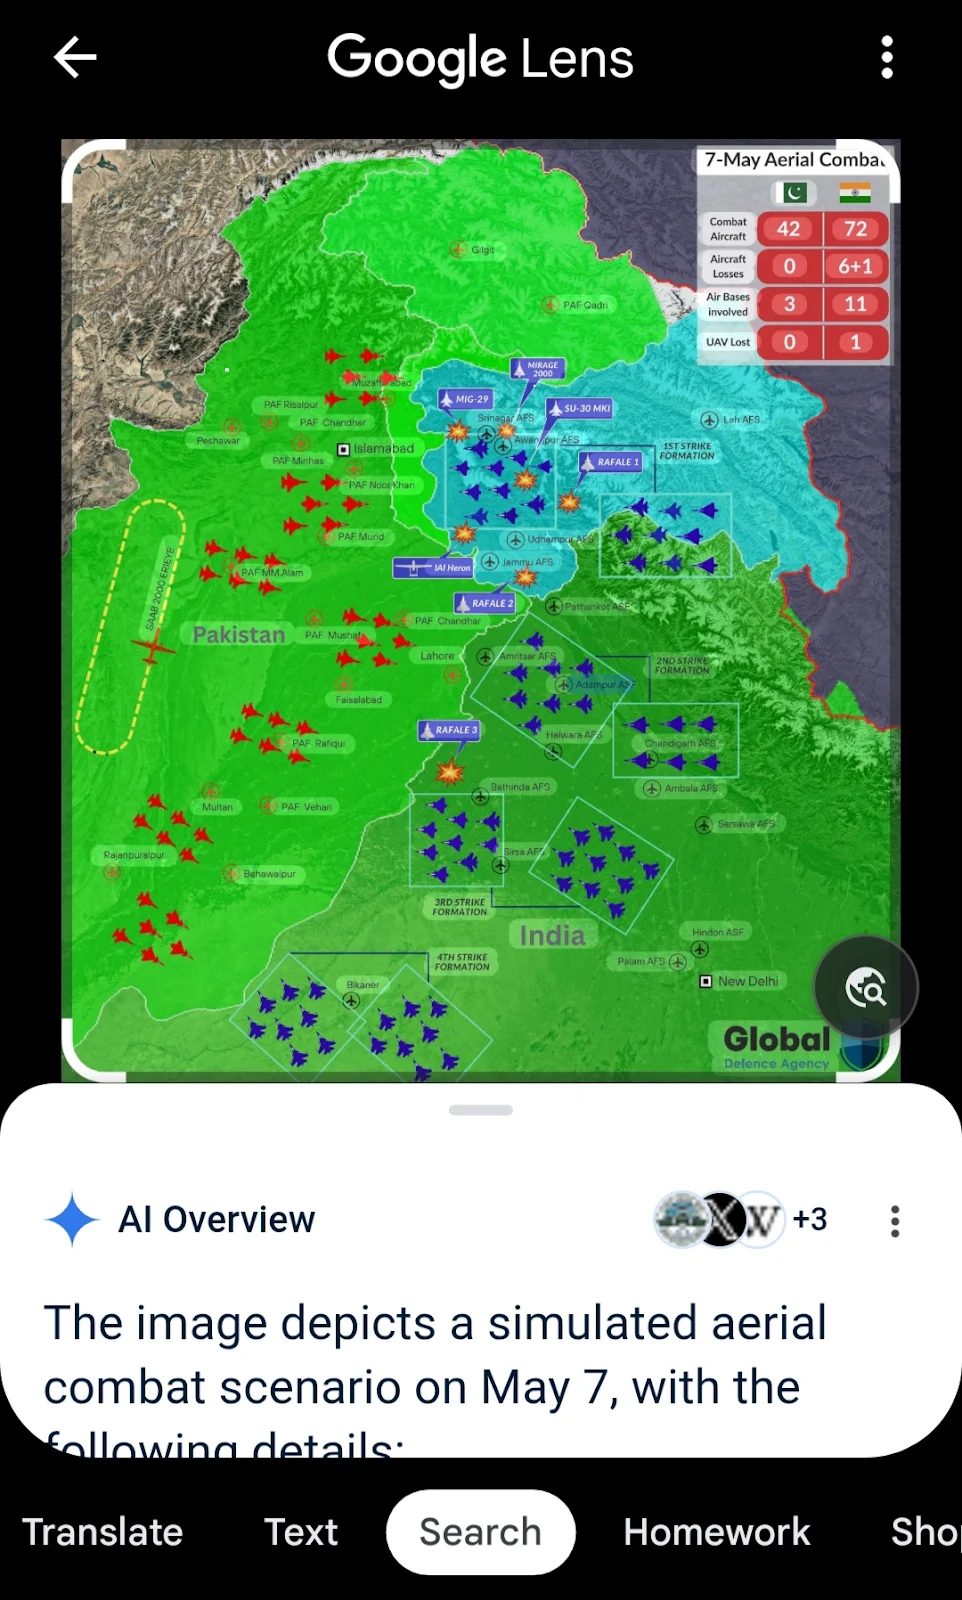
Or you can use images given on any website on the internet for authenticity and fact checking. Google Lens will provide you related data in a similar way.
- Click on any image given on any website on the internet through website and select Google Lens given in the options.

- Select Search image with Google Lens. Google Lens will start searching for related data and will display in the form of AI generated text and similar images at the bottom.
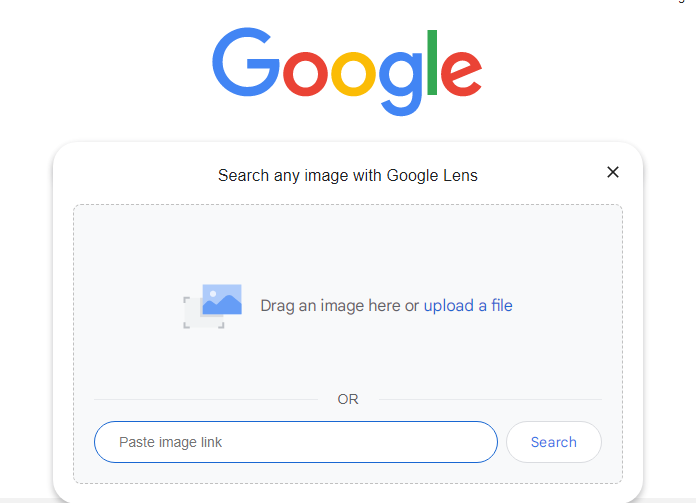
Now, if you are on desktop you can simply, Copy the image address/URL and paste it into Google Lens or Drag and drop any image from device storage/folders into Google Search , or by just right click on any image on web and by press the Search with Google Lens.
In my opinion using Google Lens direct image upload or dedicated URL searching feels less distracted as compared to just right clicking on any images and Search with Lens option.
So here is how to use the most effective method on PC:
- Right click on the image and select copy image address.

-
Go to Google search and click on the Google Lens given at the end of the search bar.
-
Paste the image address/URL in the search bar of Google Lens. It will lead you to similar images and data related to that image.
Or You can drag photos from your computer storage to Google Lens to get the same result. Just above image address bar, drag an image is mentioned. Upload a photo, and you can have the same result.

What Are the Benefits of Using Reverse Image Search?
Reverse image search can help users in locating high resolution pictures. If you have a photo, which you love, but the only thing that is making the photo appear unattractive is its low resolution, reverse image search can lead you to similar photos with better resolutions.
Photographers can even trace the original source of their photos being used by someone without their permission. Because reverse image search also reveals the website on which a specific photo is present, it is easier for them to either request website owners to give them backlinks or face legal actions.
If you do not know where to buy a specific product, just upload its photo to Google Lens, and it will show all sellers selling that product or related product online.
How To Use Reverse Image Search Effectively?
Though doing reverse image search is easy, there are still some guidelines that can make reverse image search more accurate.
- Always use high resolution photos in Google Lens. Low resolution photos might not get scanned by the app accurately, leading to results you did not expect.
- Use the Google Lens scanner properly. Sometimes, we only want a specific item to be searched by Google Lens, but we still upload a photo that has more stuff in it than that specific object. So Google Lens will scan the complete photo, giving us general results.
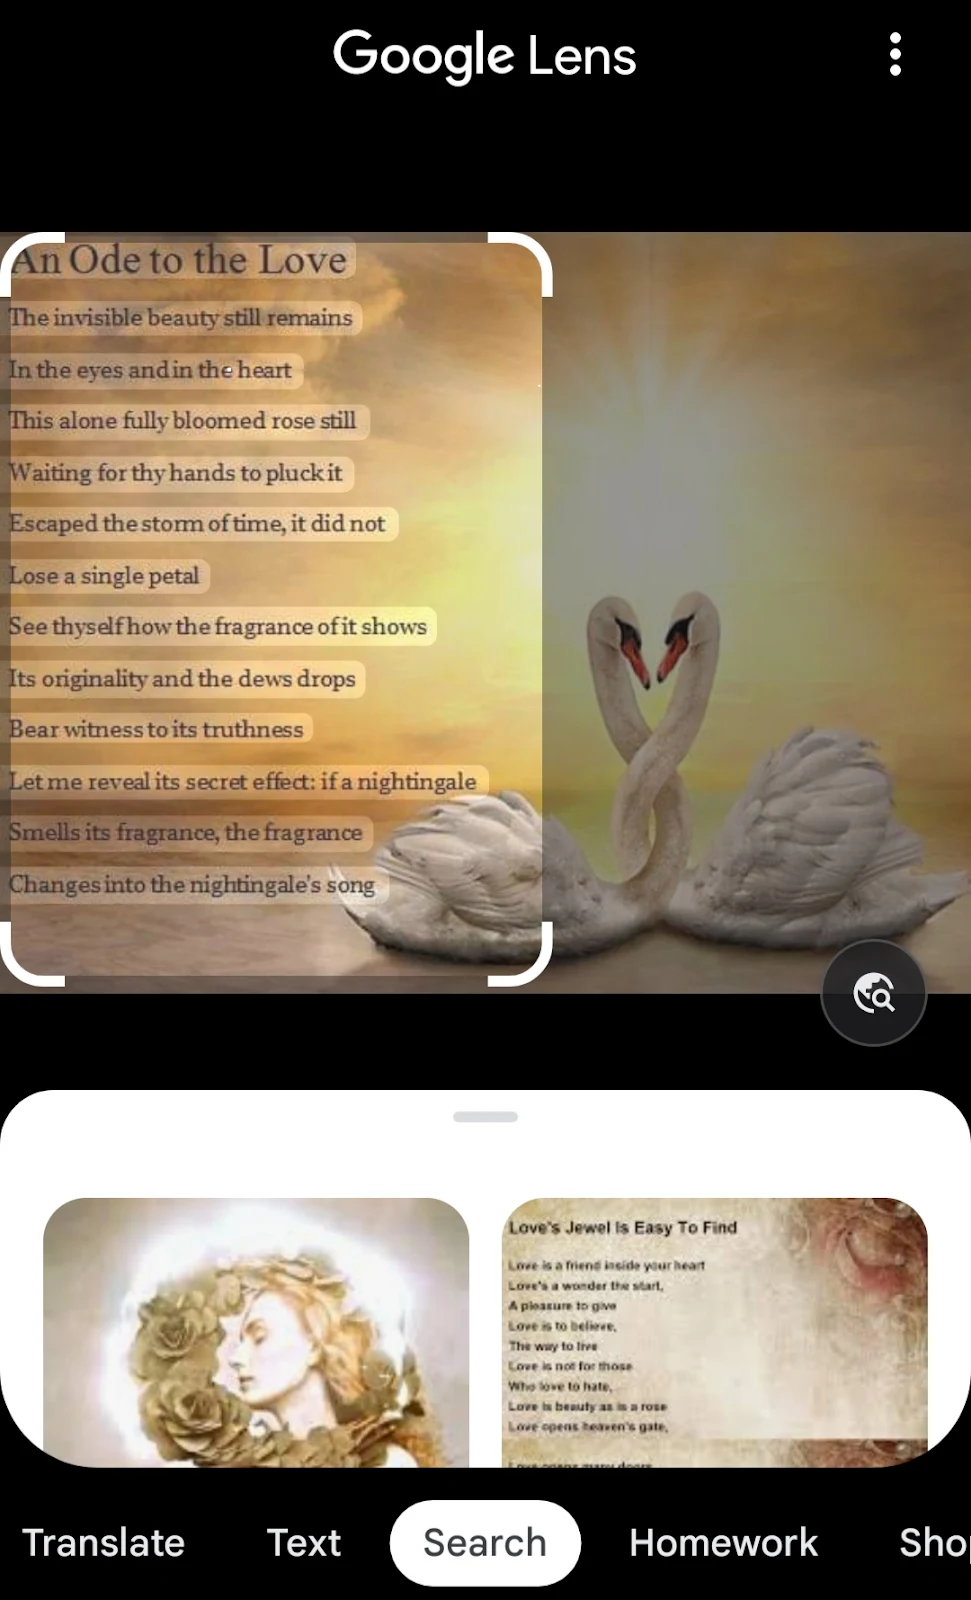
So make sure that you scan only that portion of a photo whose related data is required.
- Along with the image that you have uploaded to Google Lens, do provide extra information as well. You can write extra information, a keyword, in Addition to your search bar given at the top of results.
- For more diverse results, you can also use more than one search engine. For example, the same photo might produce different results on Google, Bing, or even ChatGPT. You can then compare the varied results and choose the one preferable to you.
The above mentioned detailed guide regarding reverse image search on different devices covers reverse image searching. Whether you are an android, an Apple or a desktop user, the guide will help you to use Google Lens for reverse image search more effectively.
Read next: Deepfake Technology Explained: Risks, Uses, and How to Detect Fake Videos