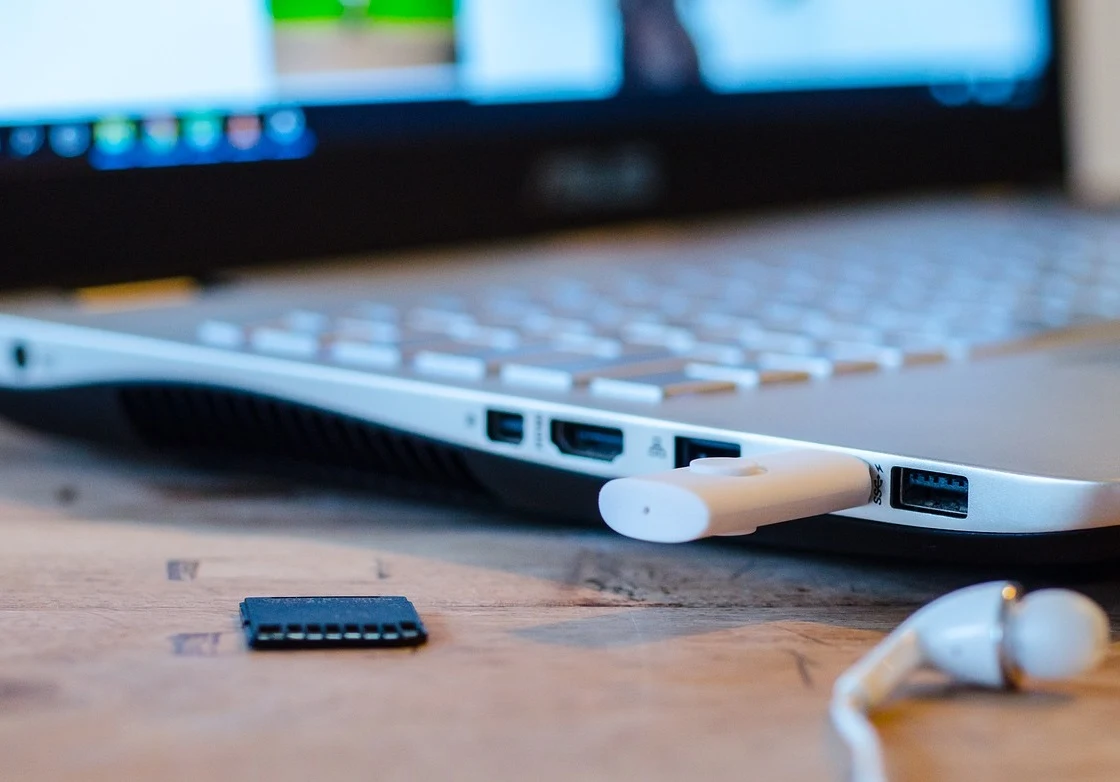
Windows, on the basis of improving its user reality, has changed the way it will be dealing with the external devices. So far it uses two ways through which data is written on external devices: Quick Removal and Better Performance.
Devices are kept ready to be removed any time through Quick removal storage operations. Devices can be removed without having to use Safely Remove Hardware process, which might not let window cache the disk write operations. This can end in degrading the performance of the system.
Stage operations are managed in a way through Better Performance, that the overall performance of the system is improved. This policy lets Window cache write operations to external devices. Therefore it is a must to use the Safely Remove Hardware process whenever an external device is removed. With this process, it is made sure that all the cache operations are finished, by keeping the integrity of data on the device.
Whereas in Windows 10, the process of Quick Removal is set by default instead of Better Performance. This would make operations safer but performance will be slowed because of less caching.

In case you've a habit of removing device safely, you can switch back to Better Performance policy through the following steps:
Read Next: Whiteboard App to Make your Handwritten Notes Legible
Devices are kept ready to be removed any time through Quick removal storage operations. Devices can be removed without having to use Safely Remove Hardware process, which might not let window cache the disk write operations. This can end in degrading the performance of the system.
Stage operations are managed in a way through Better Performance, that the overall performance of the system is improved. This policy lets Window cache write operations to external devices. Therefore it is a must to use the Safely Remove Hardware process whenever an external device is removed. With this process, it is made sure that all the cache operations are finished, by keeping the integrity of data on the device.
Whereas in Windows 10, the process of Quick Removal is set by default instead of Better Performance. This would make operations safer but performance will be slowed because of less caching.

In case you've a habit of removing device safely, you can switch back to Better Performance policy through the following steps:
- First of all, connect the external device to the computer.
- Right-click Start and select File Explorer.
- Once the File Explorer is opened, identify your Device, e.g. USB Drive (E:)
- Select Disk Management after Right-Clicking Start.
- At the bottom section of Disk management, right-click label of the device and select Properties.
- Click on policies and choose your preference.
Read Next: Whiteboard App to Make your Handwritten Notes Legible
