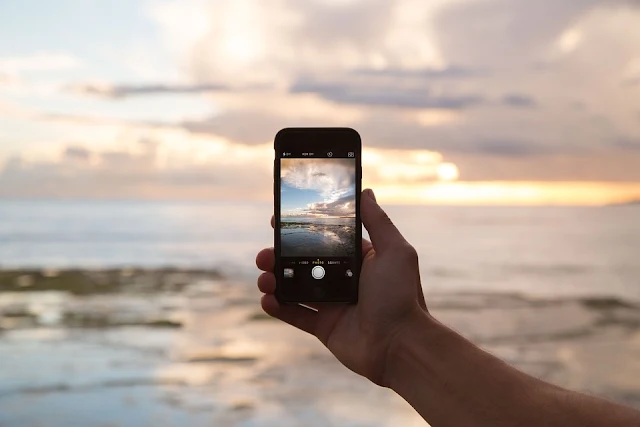
The era of acquiring a quality camera for capturing the beauty of the world has ended with the production of better smartphones. The best of them, of course, is the iPhone series which revolutionized the use of mobiles.
Nowadays, it is almost a necessity to have such a useful tool that makes our daily obligations easier and allows us to stay connected with the globe. But, most importantly, it enables an amateur to become a pro in photography due to the excellent software, admirable hardware, and a great camera that comes with a lot of perks.
Even professional photographers can switch their DSLR cameras for an iPhone and snap envious photography on the go. However, to make the most of any creative vision with this smartphone, one must be informed about its hidden features and functionalities. Understanding the camera and the tricks for enhancing the details will make a drastic change, from a good to an outstanding photo.
Although smart photo editors are always at your service, try some of these steps to make the most out of it.
Quick Access and Shortcuts
First of all, make sure that your camera is ready to take shots when you are. Therefore, set up quick access for the camera at all times and save time you would spend unlocking, finding the app, and waiting for it to load.Wake the phone and avoid the password by swiping up from the camera icon on the Lock screen or from the bottom of the screen to open the control center and tap the camera icon there. In any case, you can always set your camera icon on the bottom of the screen when the phone is unlocked for faster launching and instant shooting.
Download Apps
The Apple store offers a great deal of applications for improving the imagery. Download and experiment with available manual apps for the iPhone camera. This will provide you with a lot of controls for improved picture balance, shutter speed, exposure, and ISO. These apps give better clarity and control over the exterior, as well as the top image quality.The Right Mode & Grid
The iPhone 6 series has a 3D Touch mode for selecting the the type of shooting you are interested in. So, whether you want to “take selfies”, “record videos”, “take photos” or a panoramic photo, all of these features, and much more, are simplified by one click only.Nonetheless, you should always follow one simple rule that is the rule of thirds.
When preparing to take a perfect shot, open the Settings and go to Photos & Cameras to turn on the “Grid”. This is a commonly used rule for professionals because the image should never be right in the center, yet slightly moved to its left or the right corner. Two vertical and two horizontal lines provide a better perspective, straighten the horizon, and improve the composition.
Focus & Exposure
The secret of magnificent iPhone photography lies in the correct focus and exposure. Focus assures the subject is visible without spoiling blurs, and the exposure affects the light and secures the image is not too bright or dark.To set them accurately, once you frame the shot, modify the focus point. Depending on the subject you want to put the focus on, tap the object you want to emphasize. The yellow square that will appear means the selected part is in the main focus, while the background may be put in a minor blur. If by chance you want to lock the focus point, tap and hold the object on your screen until you see the AE/AF LOCK appear on the top.
If the photo needs to be a little bit brighter or darker, swipe up or down to balance the lighting. Likewise, in tricky lighting situations, use the HDR setting. It stands for High Dynamic Range and it’s beneficial for shooting scenes in high contrast.

Source: Snapsnapsnap.
Action Shots
When trying to capture moving subjects, use the Burst feature that allows you to take ten photos per second to catch an action shot with minimal blur. The burst mode can be adjusted by holding down the shutter button, so the iPhone can take pictures until you release the finger. It will snap the moving targets in a sequence which you can later revise to select the best images.An iPhone camera is a convenient and useful tool that can make outstanding photos if you know the right techniques. Implement these steps to see immediate improvements in your photography. Listen to advice from professionals who don’t go out without their iPhones and start experimenting with all of the amazing options this mobile device offers to its users.
Author Bio:
Isabella Foreman is a content writer by profession and enjoys writing on Wedding, Travel, Photography, Career Improvement, and cooking. She spends her off-work time with family and travel to explore new places! . She intends to educate and keep audience abreast of the latest trends in the world of Photography and Photo editing. Presently, she is associated with Smart Photo Editors - a services company that is engaged in Photo editing and wedding photo editing.

