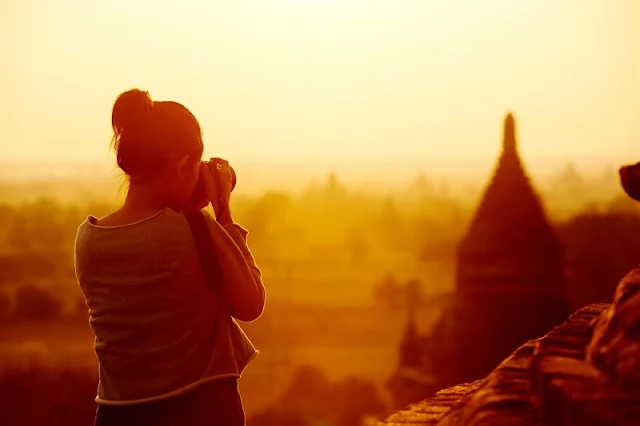
If you are looking to indulge in a photography career, you have come to the right place, as this guide for beginners will help you learn everything you need to know to start taking amazing photographs. Of course, it takes a lot of work and dedication, but the following tips will help you quickly get the hang of it, so read on to learn about exposure and everything related to understanding your camera.
How Does Exposure Work?
To create the best exposure, you need to learn about the essential elements that make it all possible, and those include an aperture, shutter speed, and ISO.1. Aperture
Aperture is the hole inside your camera’s lens which allows light to pass through. The wider it is, the more light will be allowed in, which comes in handy in low light situations. However, the depth of field will be shallow if the aperture is wider, which is not a great option when shooting landscapes.The following f/stop scale will help you understand it better so that you can always create the desired exposure.
2. Shutter Speed
The shutter speed you choose will determine how much light you want to go through your camera. To prevent motion-blur, the best option is to go for a small fraction of a second, such as 1/250. However, it greatly depends on how much light you are working with and what you are shooting. For instance, if you are shooting in the dark, you will need a slow shutter speed, such as 30 seconds, while for shooting a sports event, for example, you will need a faster shutter speed, such as 1/4000.3. ISO
When the light reaches the camera’s sensor, the ISO will determine its sensitivity and, thus, determine the level of exposure. The higher the ISO is set, the more sensitive the sensor will be, and it will increase exposure. However, it will add more digital noise, so the quality of your photo will be reduced. Therefore, setting the ISO number greatly depends on what you want to achieve.Get to Know Your Camera
To know how to take the best photos, you need to understand how your camera works. You need to understand metering modes, shooting modes, histograms, depth of field, white balance, focal length, crop factor, and polarizing filters.
1. Metering Modes
Metering modes are used to basically “tell” your camera how to “look,” so that the exposure is exactly how it should be for the photo to be perfect. This means that it determines what aperture and shutter speed you should use. There are different metering modes that you can use, depending on what you want to focus on, but the most common are Matrix or Evaluative metering, center-weighted metering, and spot metering.2. Shooting Modes
Which shooting mode you will choose greatly depends on how much control you want to have over your camera. You can choose Full Auto if you want your camera to have full control or you can choose Program Mode if you want the camera to control only the exposure and allow you to play with the other settings.You can also choose Shutter Speed Priority, which only controls the aperture for you, or you can choose Aperture Priority, which will only control the shutter speed. There is also the Manual mode for those who know what they are doing since it allows you full control over your camera.
3. Histograms
Histograms show you the exposure of your photos. They provide you with a mathematical representation of your photo’s exposure so that you can see if it is underexposed, overexposed or evenly exposed. Understanding histograms will help you shoot better photographs than without having the knowledge.
4. Depth of Field
As you already know, the depth of field has a lot to do with aperture. The wider your aperture is, the shallower your depth of field will be, and vice versa. Therefore, you need to know which situation requires more and which one requires less light to go into the lens, so that you can know what aperture and, hence, what depth of field you should choose. For instance, if you are shooting landscapes, you should narrow your aperture, so that the entire scene you are shooting remains in focus.5. White Balance
White balance determines whether your photo will appear cold or warm, that is, whether it will appear blue or orange. You can set auto white balance, but it will not do your photos any good if you shoot them in tungsten light. Therefore, learn how to use white balance to change the color of your photos on your own, so that they have completely natural warmth.6. Focal Length
The focal length is very important when choosing lenses, as it determines the zooming and perspective of the photos you take, that is, it indicates the distance from the subject.
7. Polarizing Filters
Polarizing filters are important because what they can do when you are shooting a photo is something that you cannot do in post-production. They allow light to go through the lens only from a particular direction, which removes the reflection while shooting glass or water bodies; this makes the colors in each of your photos look natural.Bonus infographic:

Source: Katchup.
These are the absolute essentials that will help you better understand how to take the best possible photos. There is certainly quite a lot more to learn, but the best way to do so is to get your camera and start shooting right away because, after all, practice makes perfect. What you can also do is learn about the big photography trends in 2017, as they will help you know what changes you can implement to become a better photographer.

